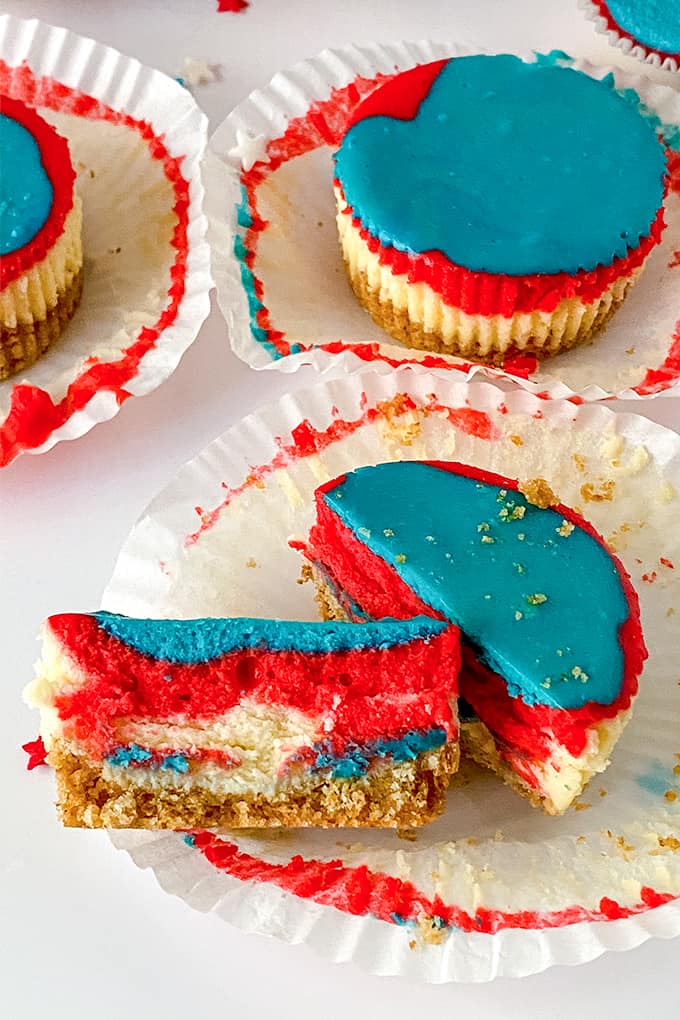
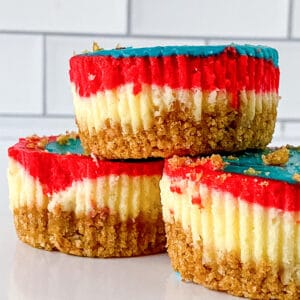
Red White and Blue Mini Cheesecakes

These Red White and Blue Mini Cheesecakes are such a fun patriotic treat. They are made with a vanilla wafer crust, filled with velvety cheesecake filling that’s been colored red and blue, and topped with whipped cream topping and sprinkles.
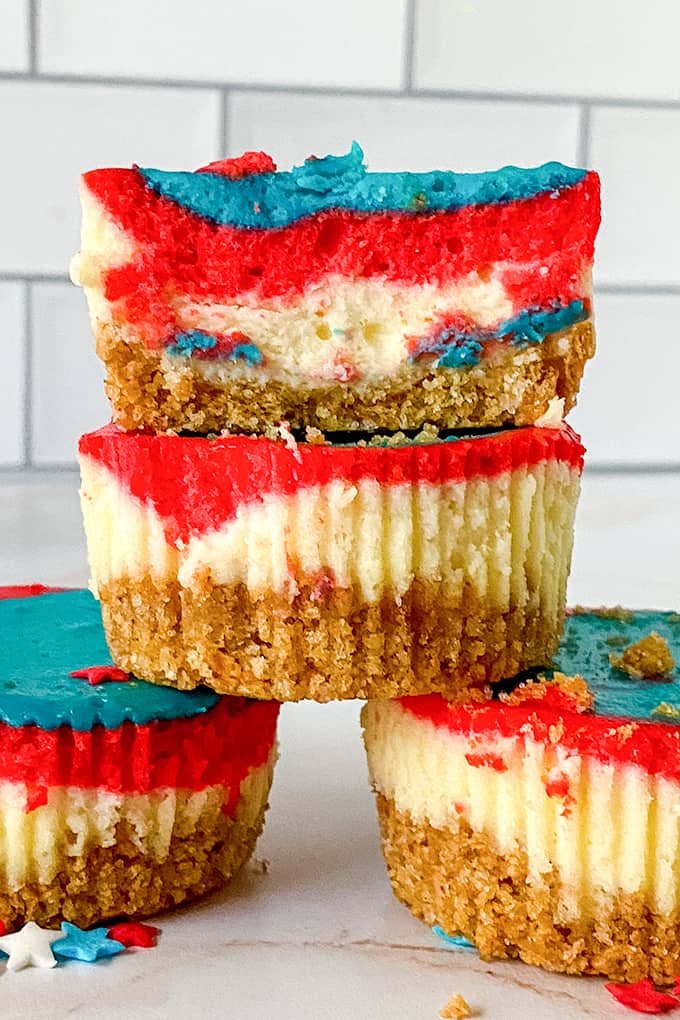
I can’t believe it is going to be the 4th of July already! If you are looking for something to serve guests with your summer cookout, this is it!
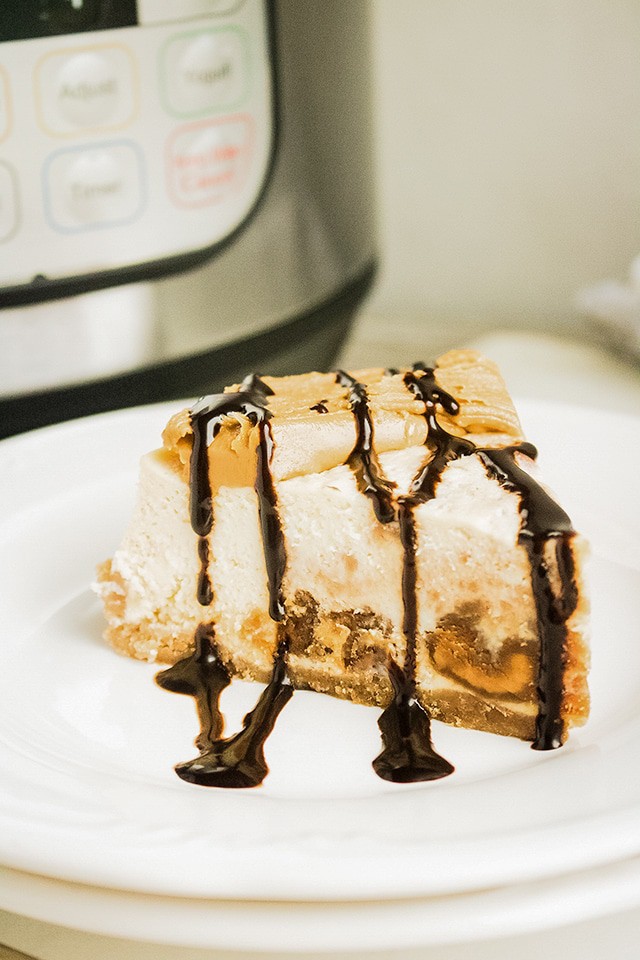
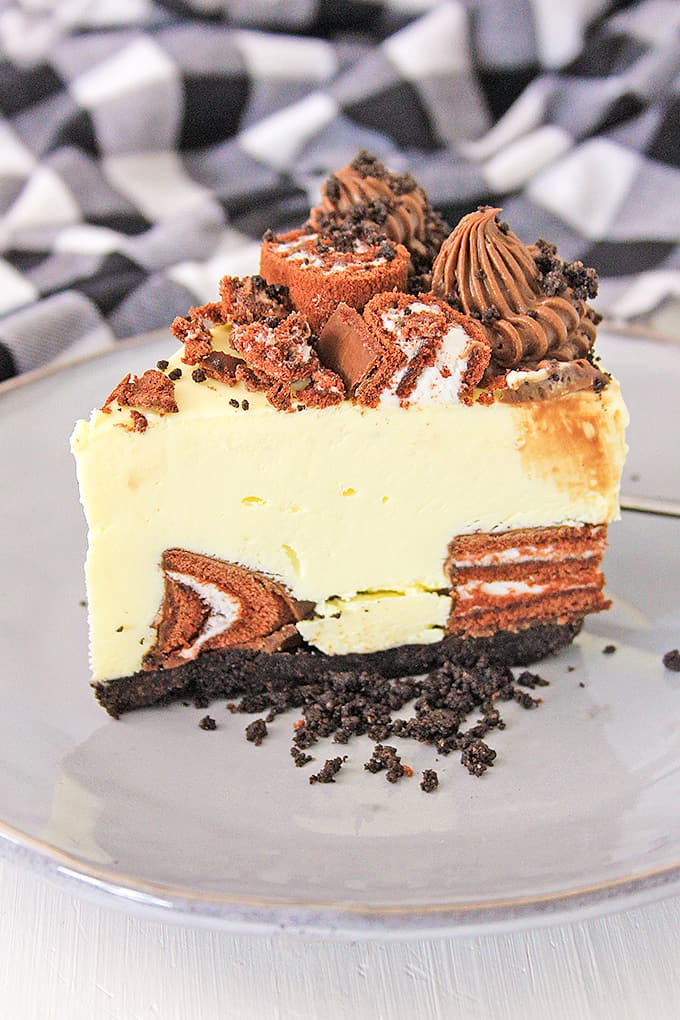
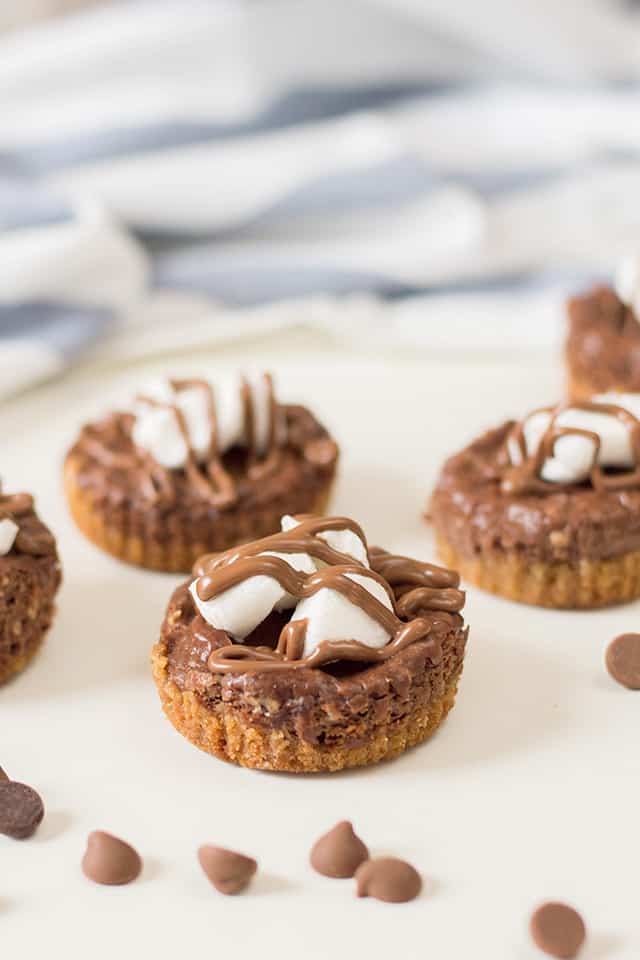
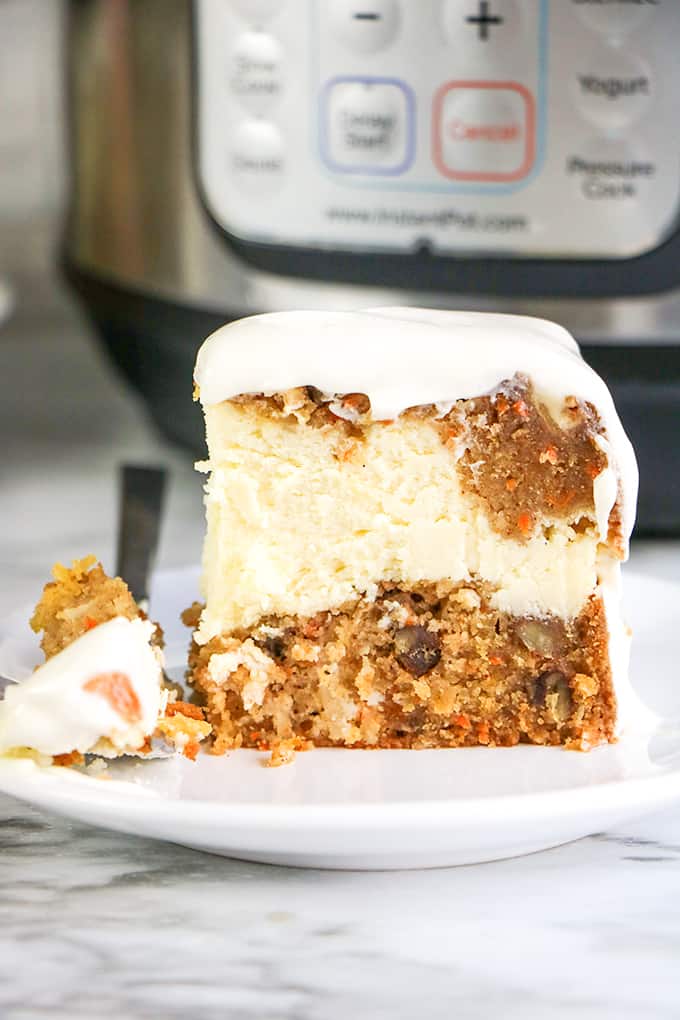
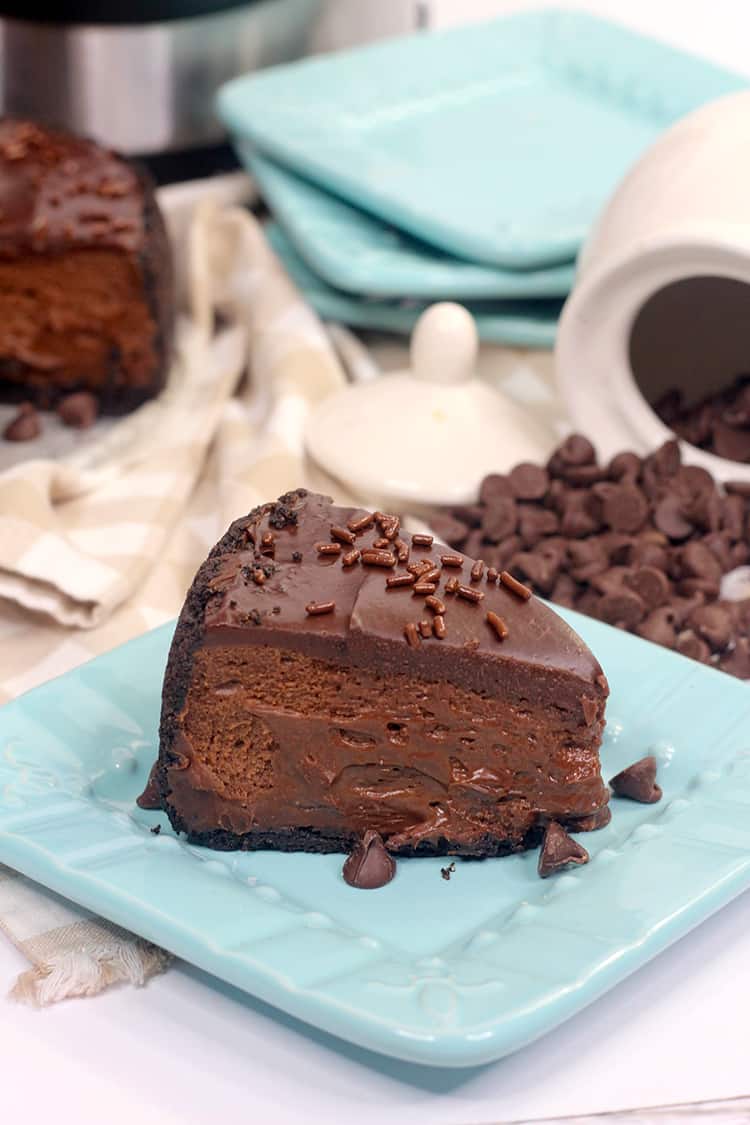
Looking for more mini cheesecake recipes? I have just the ones you need.
Ingredients For Red, White, and Blue Mini Cheesecake

Get the full printable recipe at the bottom of the post.
- Vanilla Wafers or Graham Crackers
- Butter
- Sugar
- Cream Cheese
- Eggs
- Flour
- Sour Cream
- Vanilla
- Food Coloring
- Heavy Cream
- Sprinkles
How to Make Mini Cheesecakes
This easy mini cheesecake recipe is super simple to make and doesn’t require any fancy ingredients. Unless it’s sprinkles, we love fancy sprinkles.
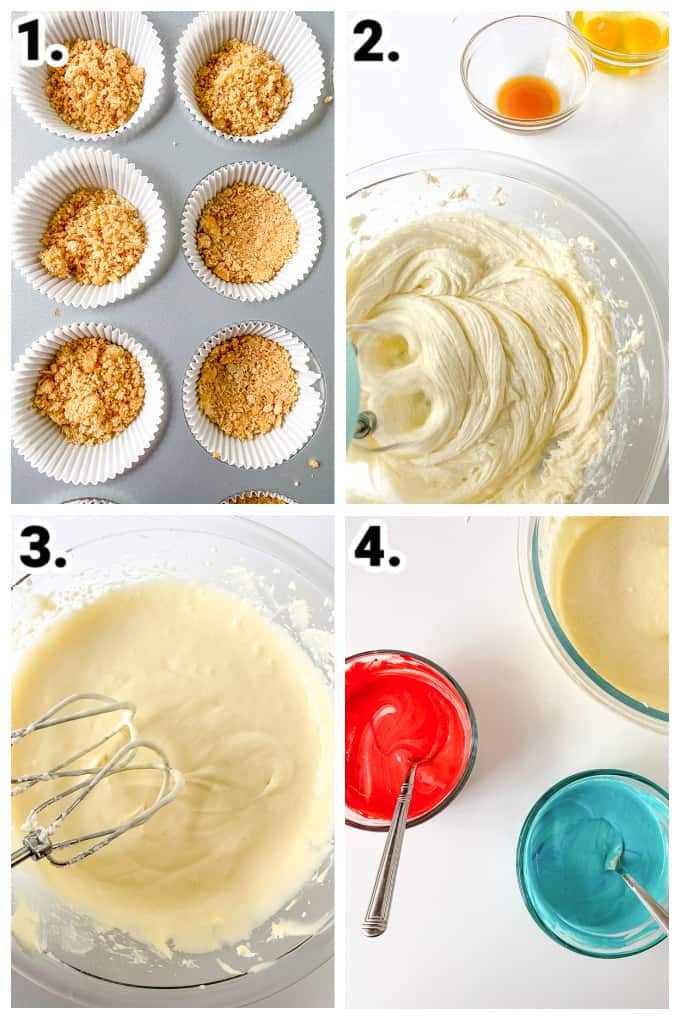
1. Line your cupcake pan with paper liners and preheat the oven. Work on the vanilla wafer crust. Add the crushed wafers, sugar, and butter together and stir until the crumbs are coated with butter. Press 1 tablespoon of crumbs into each paper liner.
2. Beat the cream cheese, sugar, and flour with a hand mixer/stand mixer until combined.
3. Beat in the vanilla extract and sour cream. Lastly, add the eggs one at a time, beating JUST until incorporated. Scrape down the bowl after each addition.
4. Separate the cheesecake batter evenly into 3 bowls. One you will leave white, add red coloring to one, and blue to the other.
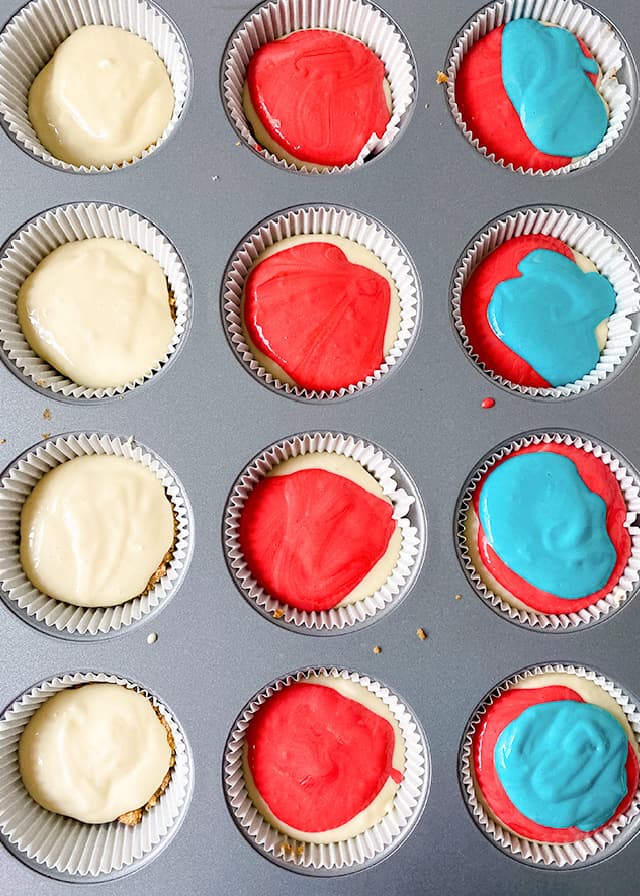
5. Pour the white cheesecake in the bottom, then red, then blue. Make sure to not overfill the cups. Bake as directed, and once done remove and allow them to cool.
Then you will make the whipped topping, decorate by adding some on, and sprinkles.
Frequently Asked Questions
You are more than welcome to store your cheesecakes in an airtight container. Then you can store it in the fridge for 4-5 days. You will find the cheesecake is best within the first few days.
Cheesecake does freeze well. Just store for 3-4 months in a freezer container. You can leave the whipped topping off if you want, and top once you are ready to serve if you would like. Thaw the cheesecake in the fridge.
I find using gel food coloring works wonderfully for adding color to your desserts but not altering the flavor of the dessert. If you have Americolor gel food coloring on hand, that is amazing.
The Wilton brand is a great option and affordable. Go ahead and use what you have. Some brands, you will find can add a slight changing of the flavors.
Fresh berries, pie filling, etc. You can honestly change the flavors of your cheesecake, by how you add on different toppings. Feel free to give it a try, and see what tastes best.
The edges will be set, and you will find the centers can have a slight jiggle still. You will find that as the cheesecakes cool they will set up even more.

More Recipes You Might Like
Red White and Blue Mini Cheesecakes
Ingredients
Crust
- 1 cup vanilla wafers or graham cracker crumbs
- 2 tablespoons granulated sugar
- 4 tablespoons butter melted
Filling
- 12 ounces (1 1/2 bricks) cream cheese room temperature
- 1/2 cup granulated sugar
- 3 tablespoon all-purpose flour
- 1/2 cup full-fat sour cream
- 2 teaspoons vanilla extract
- 2 large eggs
- Blue gel food color
- Red gel food color
Whipped Cream Topping
- 1/2 cup heavy whipping cream cold
- 5 tablespoons powdered sugar
- 1/2 teaspoons vanilla extract
- festive sprinkles
Instructions
Crust
- Preheat oven to 340 degrees F. Place cupcake liners to a cupcake pan.
- Add the vanilla wafers to a storage bag. Crush the wafers using a rolling pin until fine crumbs are all that are left.
- In a small bowl, add the cookie crumbs, sugar and butter. Stir until well incorporated and the butter has coated all of the crumbs.
- Place 1 1/2 tablespoons of crust mixture into the bottom of each of the liners and press firmly down.
- Bake the mini crusts for 5 minutes. Remove from oven and let cool for ten mins.
- While the crusts are cooling, begin to work on the the filling.
Filling
- Reduce the oven temp to 300 degrees F.
- In a stand mixer or with a hand mixer, beat the cream cheese, sugar, and flour until combined. Scrape down the sides of the bowl.
- Add the sour cream and vanilla. Beat on low speed until well combined.
- Add the eggs one at a time on low speed, scraping the sides of the bowl after each addition.
- Divide the batter equally into three bowls.
- Set aside one of the bowls for the white cheesecake color. Color one bowl red and one blue. Add 2 to 3 drops of food color and stir until thoroughly incorporated. Be sure to get the bottom of the bowls. If you want the colors deeper, add additional food coloring.
- Layer 1 tablespoon of batter on top of the crusts, starting with white batter, red, and then blue. Do not overfill the cups.
- Place in the preheated oven and bake for 18-20 minutes. Turn off the oven and let cool an additional ten mins while still in the oven. Do not open the door to the oven for the first ten mins.
- After the 10 minutes, open the oven door, leave it ajar and let the cheesecakes cool for 20 minutes.
- Place the pan of mini cheesecakes in the fridge to chill for 1 to 2 hours. Remove from pan when fully chilled.
- Top with the whipped cream topping and sprinkles. Eat immediately or place in the fridge in an airtight container until you’re ready to serve.
Whipped Cream Topping
- Add cold heavy cream, powdered sugar and vanilla to a large mixing bowl. Using a hand mixer, whip on high until stiff peaks form.
- Place the whipped cream in a piping bag fitted with a round tip. Pipe on top of the cheesecakes before serving.
- Store in an airtight container in the fridge for 4 to 5 days.